Enabling Graphics Acceleration on WSL2
By default, running any GUI (Graphical User Interface) Linux applications on WSL will use your CPU as the renderer. This isn't optimal for Gazebo, since we'll be running simulations.
This guide will show you how to force WSL to use your dedicated graphics card (if you have it on your laptop) for Gazebo and any other GUI applications.
Prereqs
- WSL2 installed
- Dedicated graphics card on your laptop. See below on how to check if you have one.
- To check, open Task Manager>Performance>GPU.
- If you see something like NVIDIA like below, you have dedicated GPU ✅. Continue with this guide
- If you only see 1 GPU, you don't have a dedicated GPU ❌.
Don't continue with this guide, as WSL is already using your integrated graphics. 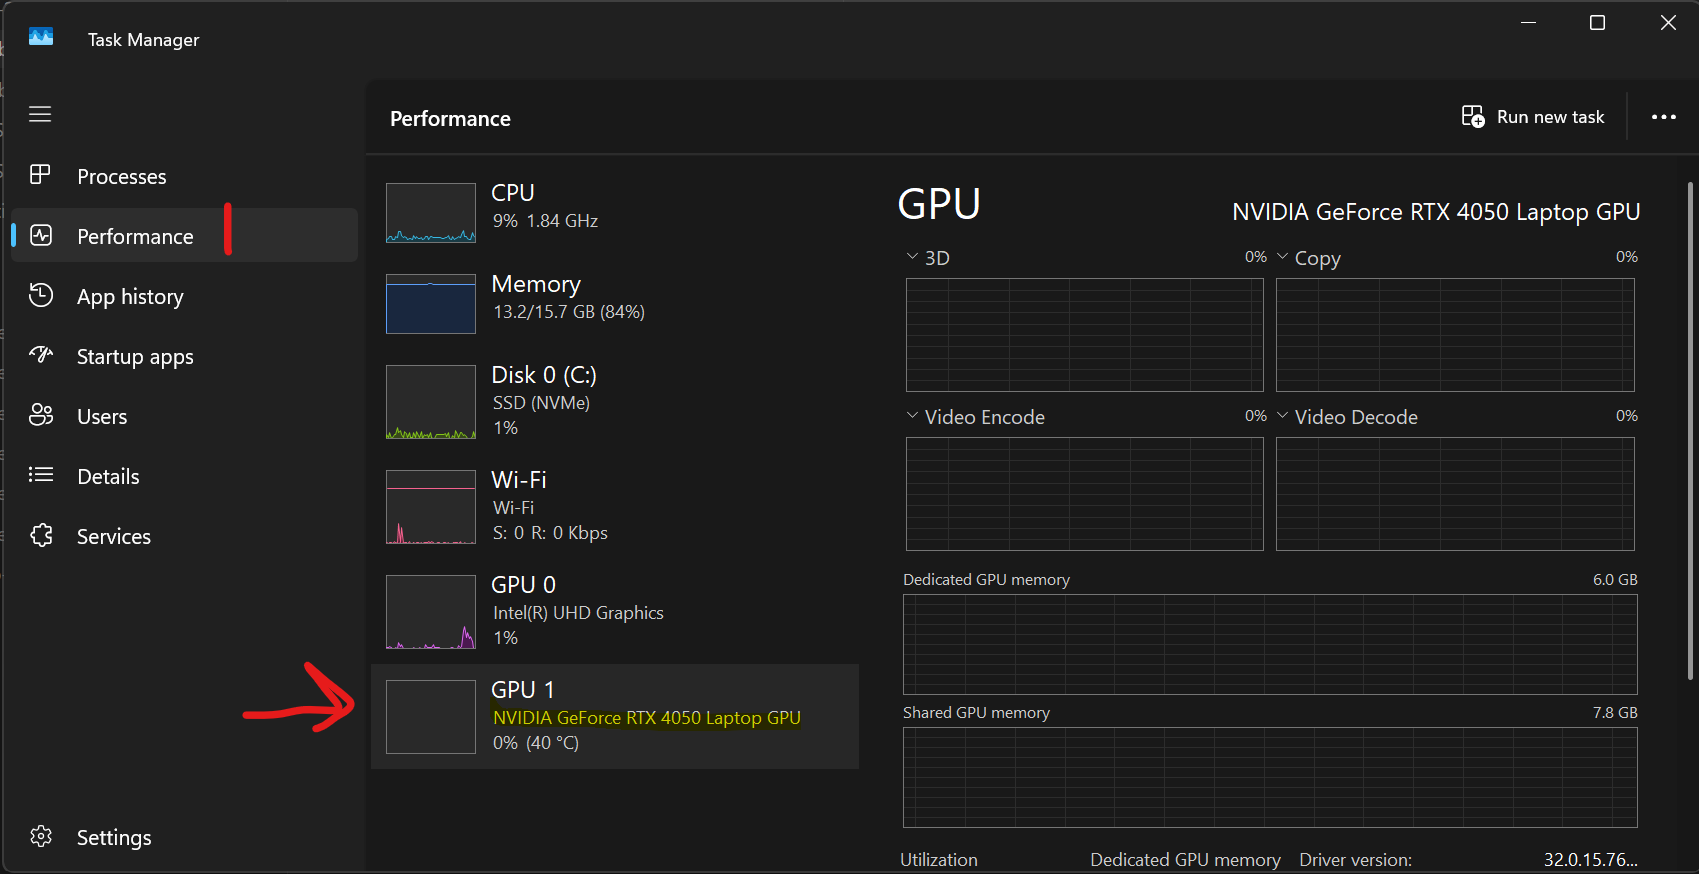
- If you only see 1 GPU, you don't have a dedicated GPU ❌.
- ROS2 + Gazebo installed → see 9/8 guide
- When you type
ros2, and the following shows up → ROS2 installed ✅ 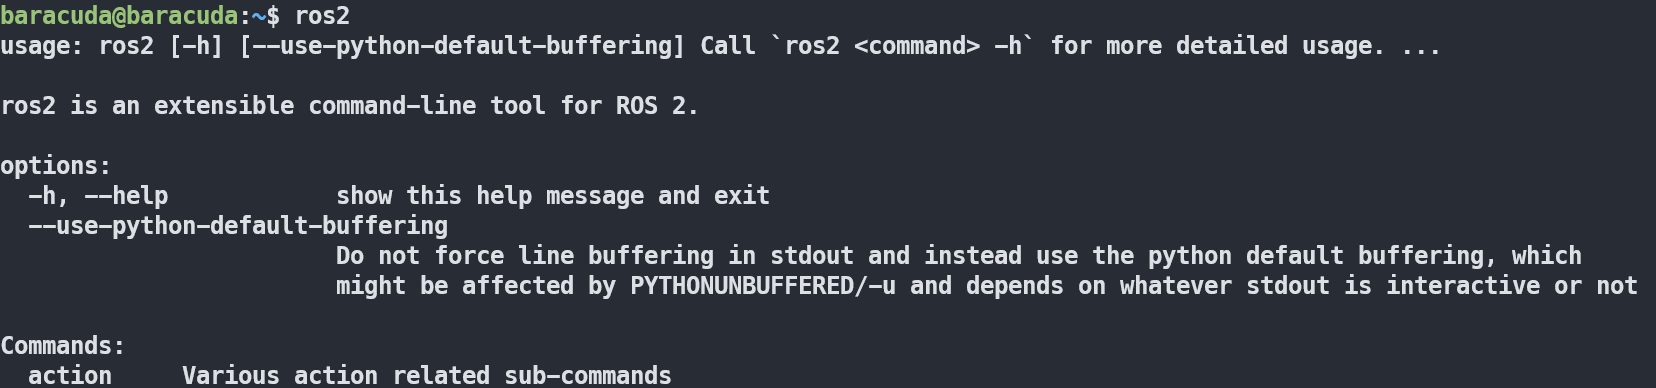
- When you type
gz, and the following shows up → Gazebo installed ✅ 
Setup on WSL side
If you installed WSL2 and Ubuntu-24.04 during the 9/8 meeting, then you don't have to do this step. Move on to Ubuntu Setup.
If you have an existing WSL installation, you need to check if you have WSL1 or WSL2 installed. It's very likely you have WSL2 installed, unless you installed WSL >3 years ago.
To check just in case, follow the below steps.
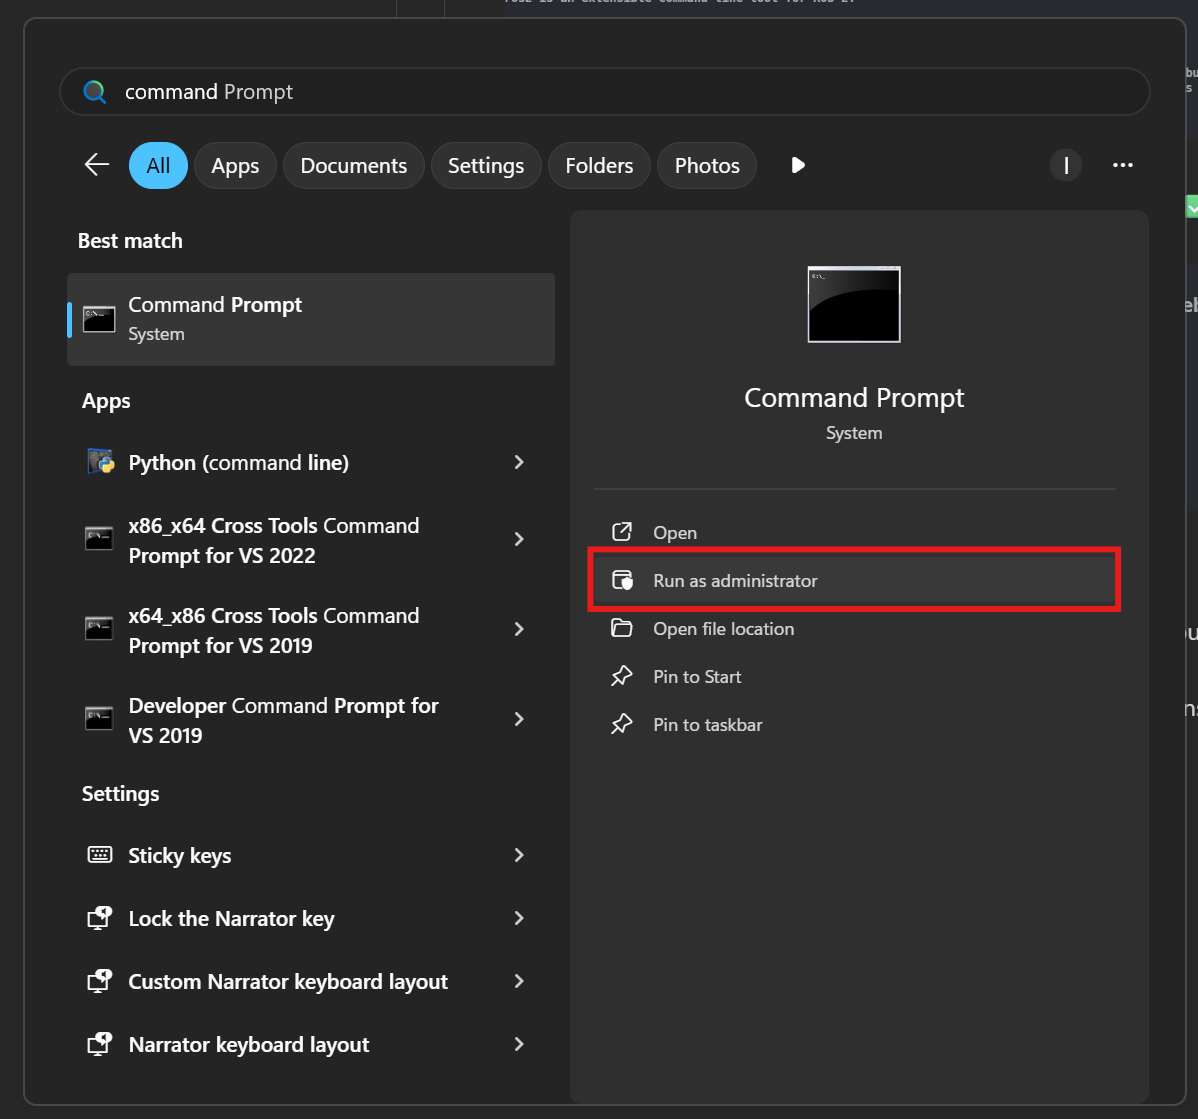
- Open an elevated command prompt
- Run
wsl --list -v.
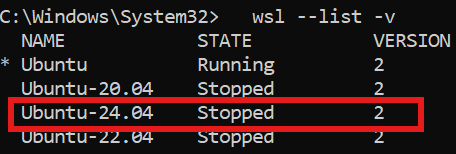
- If you see Version 2, move on to Ubuntu Setup.
- If you see Version 1:
- Run
wsl --set-version _distro_name_ 2. This can take a while. - Run
wsl --shutdownto restart your WSL installations. Make sure to save any unsaved work before doing this in your WSL/Ubuntu install.
- Run
Ubuntu Setup
We'll need to add some lines to our ~/.bashrc to force any GUI applications to use your dedicated GPU.
For context, the ~/.bashrc file is a shell script that the Bash shell (your Ubuntu shell) runs whenever your Linux terminal starts.
To edit the ~/.bashrc file, we'll use nano, a lightweight text editor built-in to Ubuntu. You can also use vi or vim if you're familiar with that.
- Open your
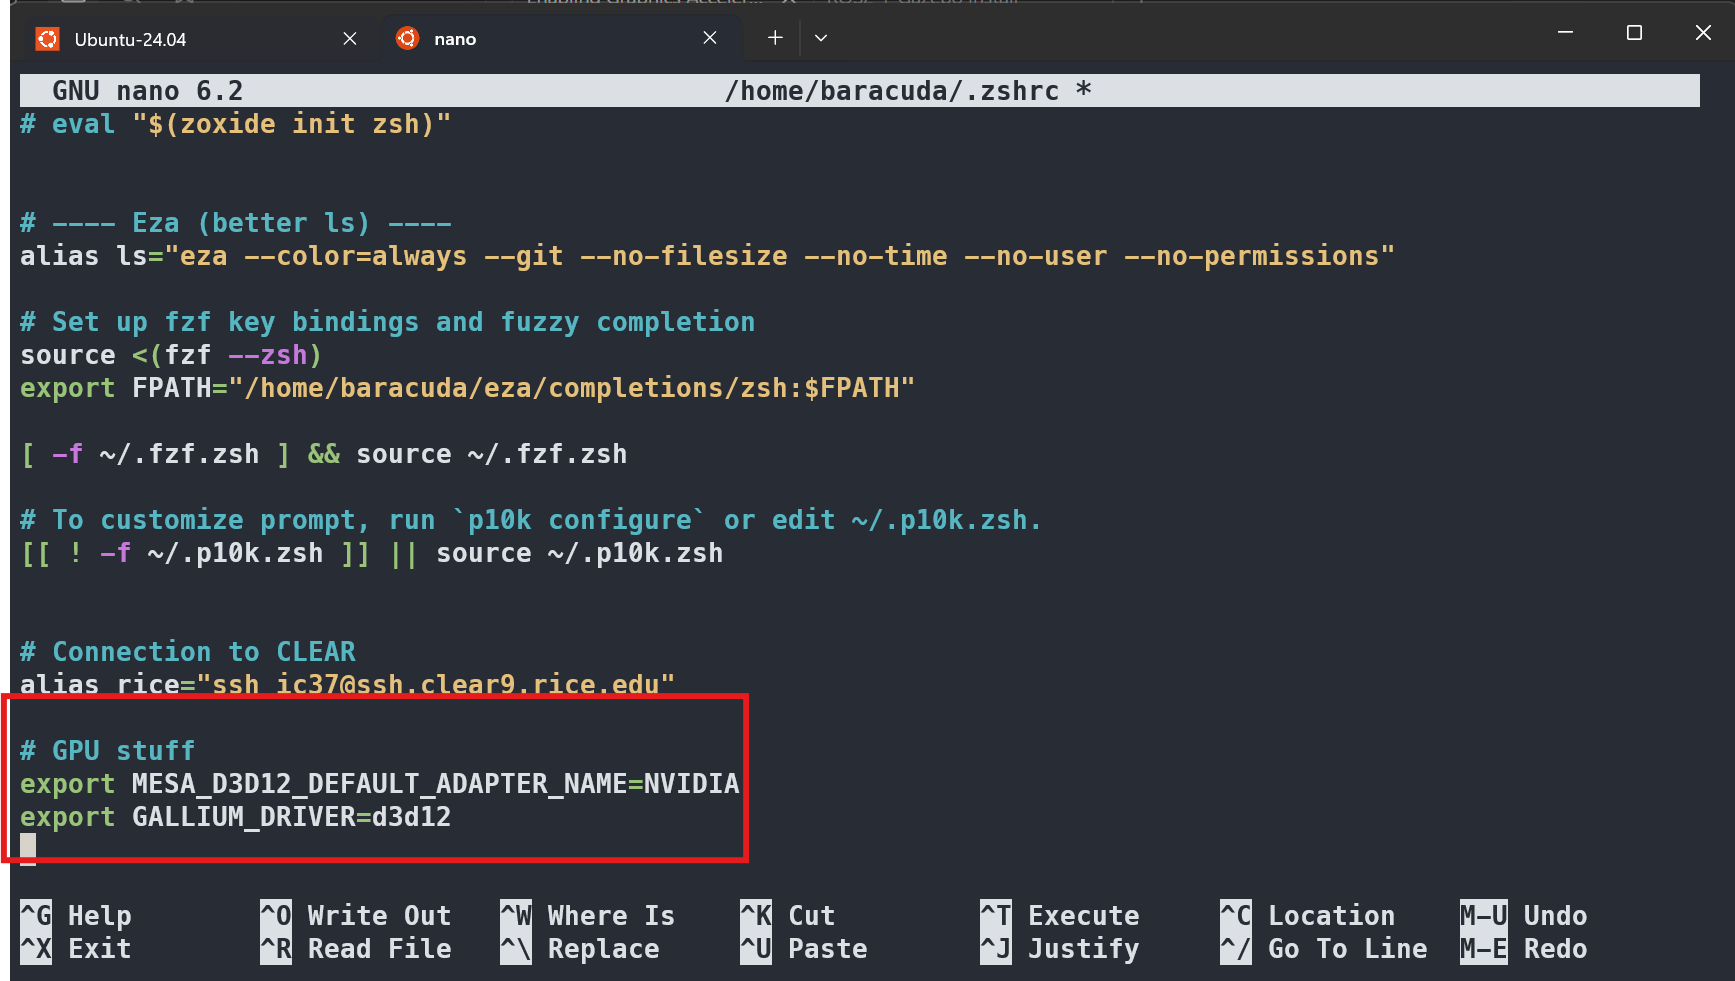
~/.bashrcfile with nano usingnano ~/.bashrc. - There'll be a lot of preloaded text. Scroll to the bottom and paste the following lines. Change
NVIDIAtoAMDif you have an AMD GPU. You may need to useCTRL+SHIFT+Vor right click to paste on Ubuntu, ifCTRL+Vdoesn't work.
export MESA_D3D12_DEFAULT_ADAPTER_NAME=NVIDIA
export GALLIUM_DRIVER=d3d12
3. After pasting those lines, we need to save our changes. To save changes in nano, press CTRL+X, then press Y, and Enter.
4. After saving, you'll need to "source" your ~/.bashrc file. This "reloads" your terminal by re-executing the commands/scripts inside ~/.bashrc. Since we added new lines to it, we need to source it
source ~/.bashrc
- Now, let's check which GPU is being used now.
glxinfo | grep "OpenGL renderer"
- If successful, you should see your dedicated GPU being used, as below:
